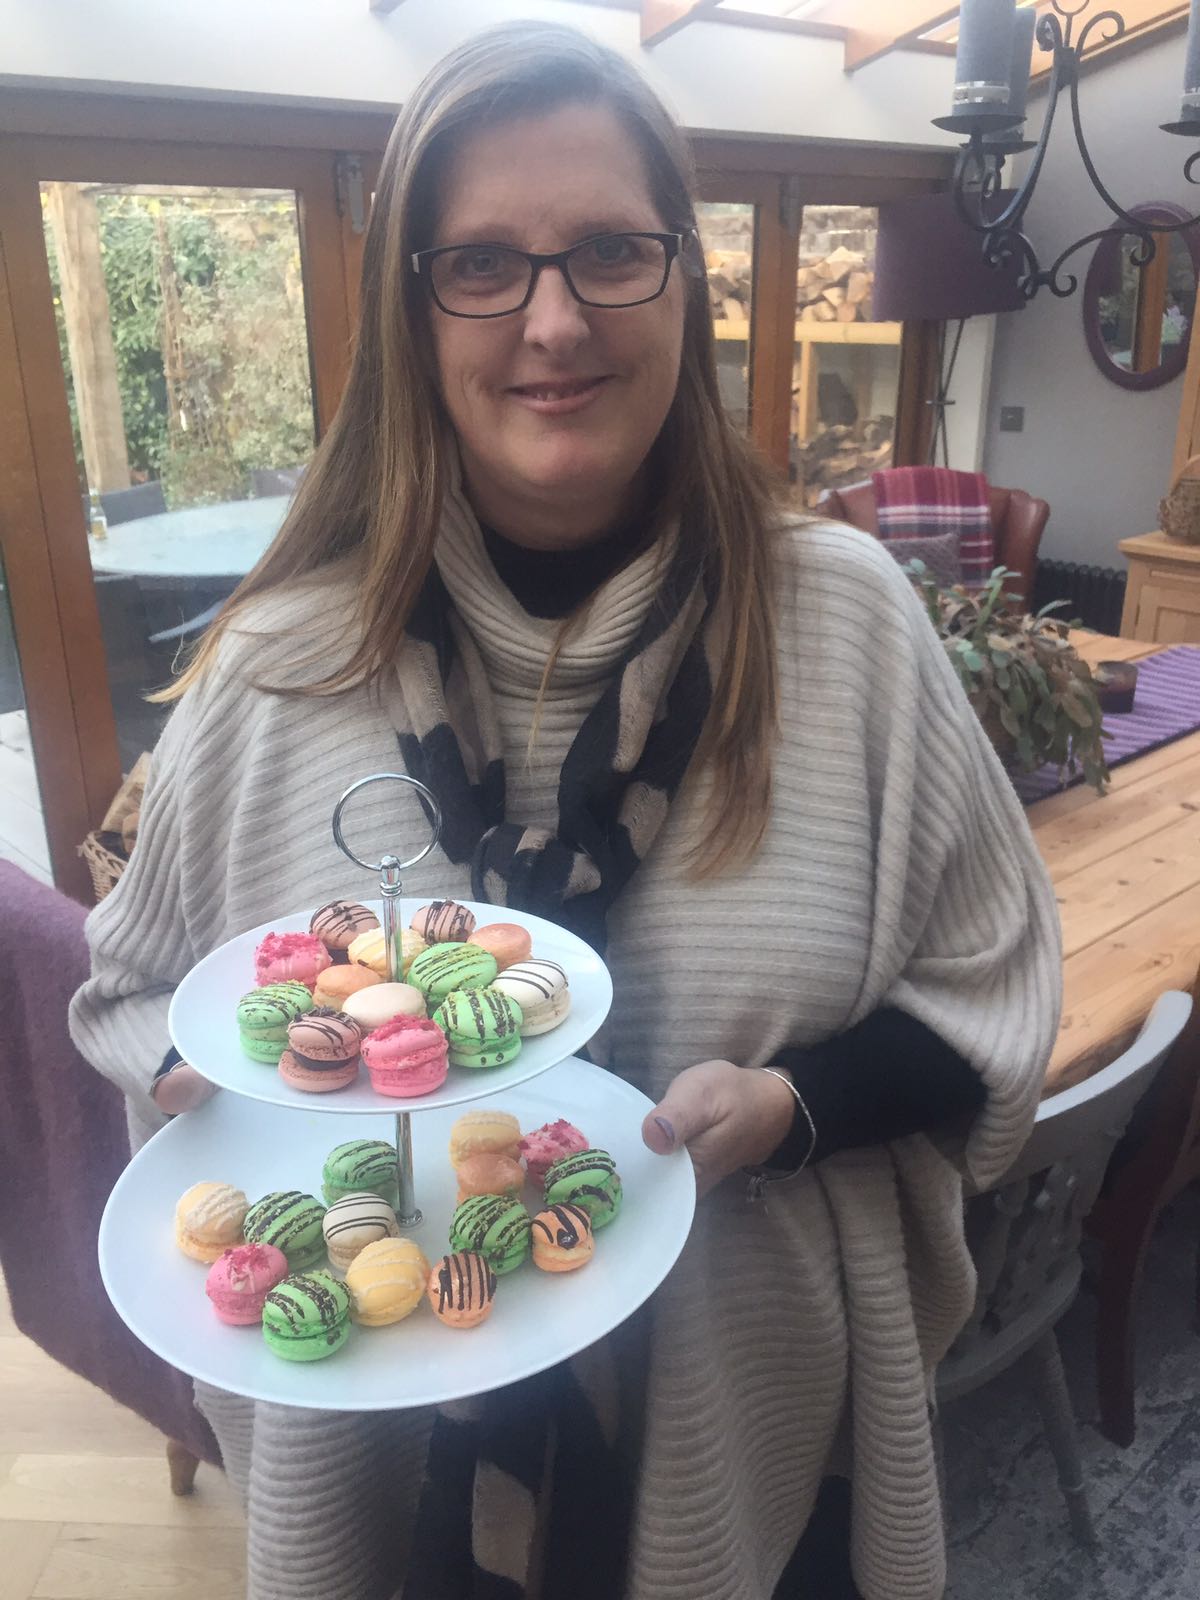
Macarons at Limewood Cookery School


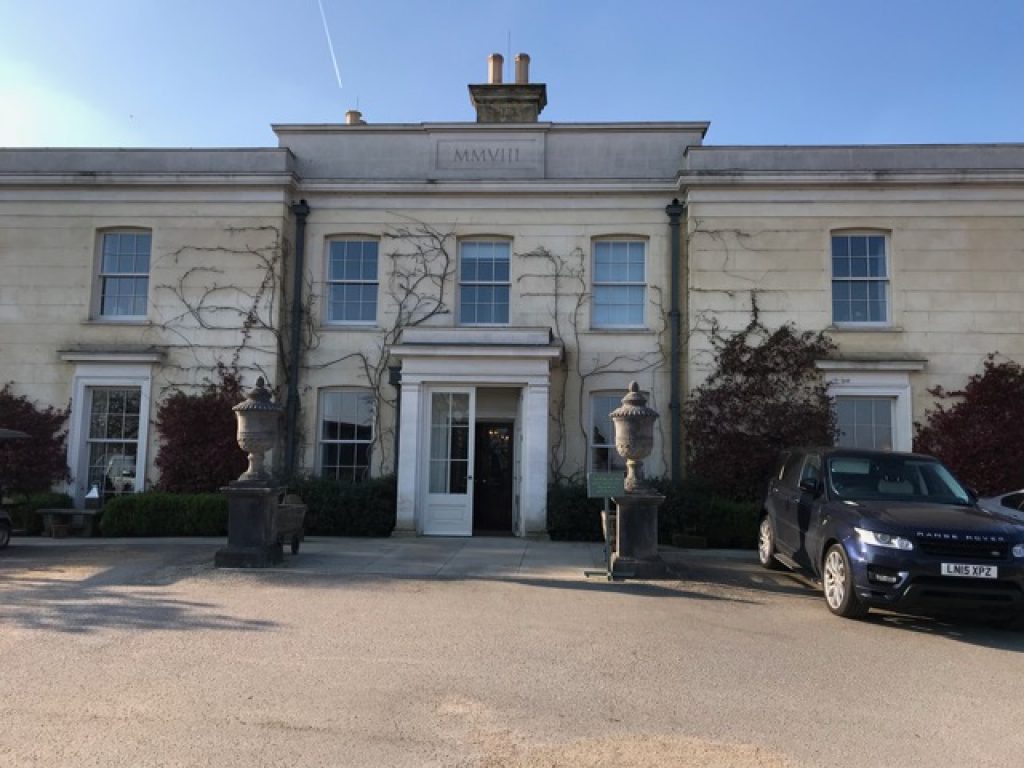
My daughter Hannah is very clever and thoughtful at choosing presents, and this year at Christmas didn’t disappoint, by giving me Macaron Cookery Lessons, for us both to enjoy together at the stunning Limewood Hotel in the New Forest. Usually, when it comes to Macarons, she and I love to share a few with a coffee, so learning to make the notoriously tricky but tasty bites, was bound to be a fun, mutually beneficial pastime!

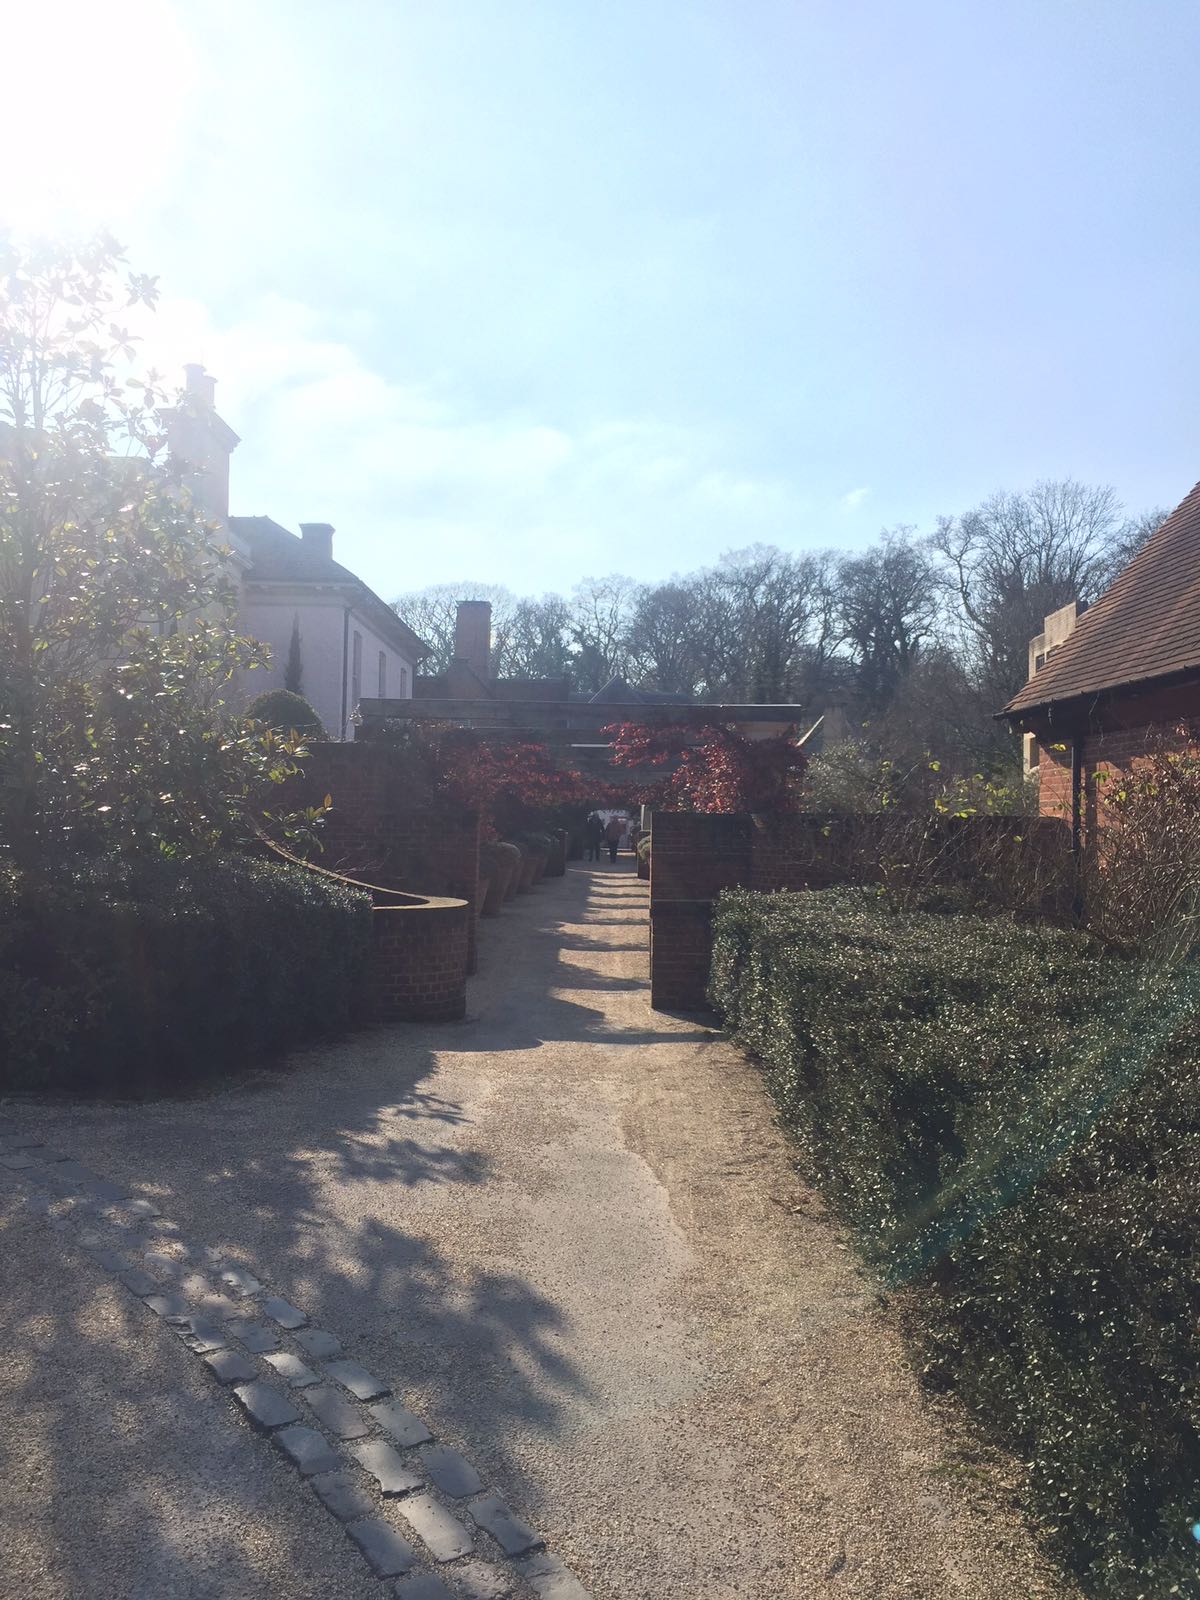
The day started perfectly, as despite being February, it was crisp, dry and bright with a beautiful blue sky, so our drive through the New Forest to Limewood Hotel was delightful, and filled us with the hope that we might both cut it as Patissiers!
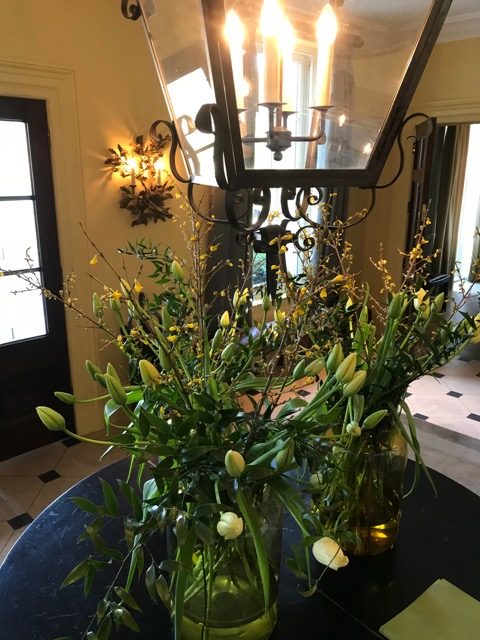
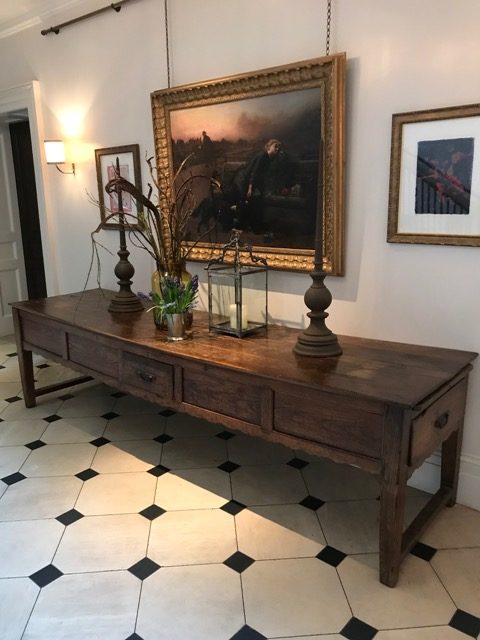
Limewood Hotel is particularly stunning in the sunshine, and on arrival we were ushered through the stately reception to enjoy coffee with the other guinea pigs, I mean, cooks!
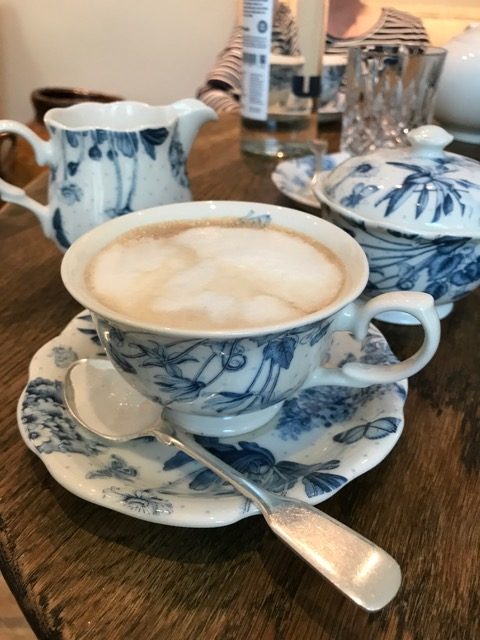
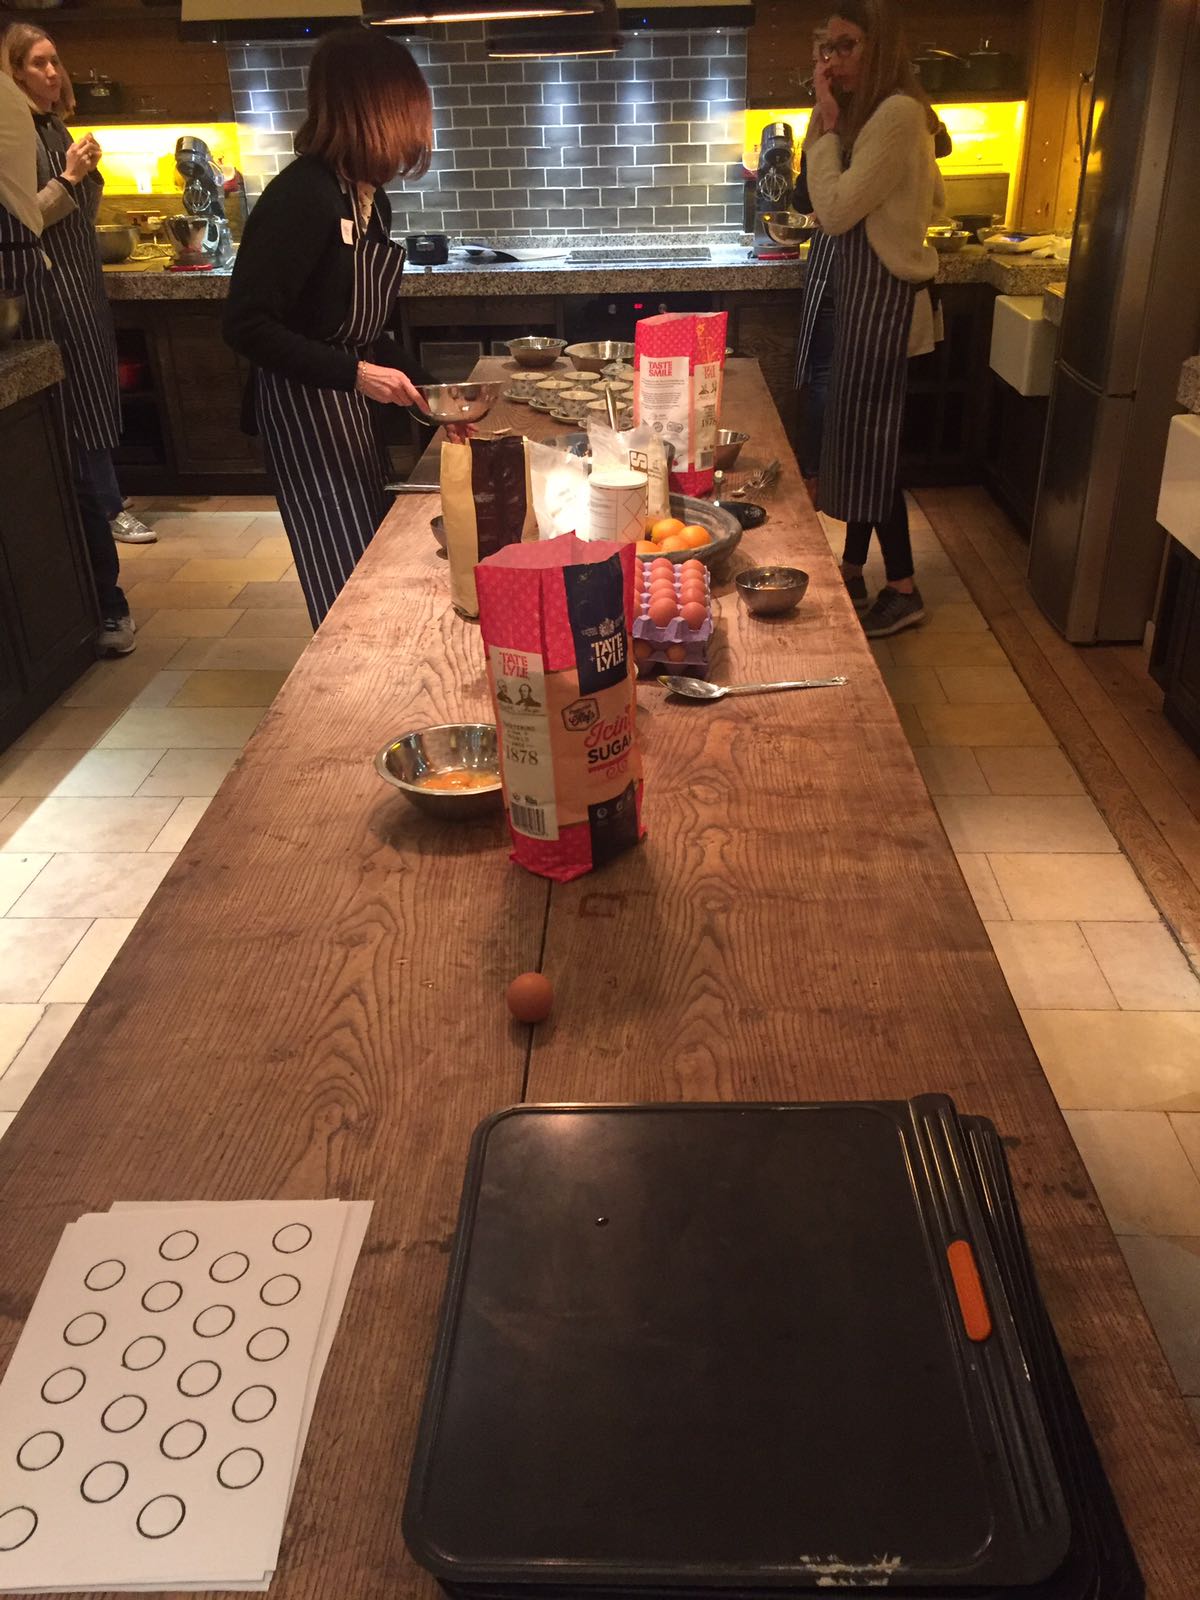
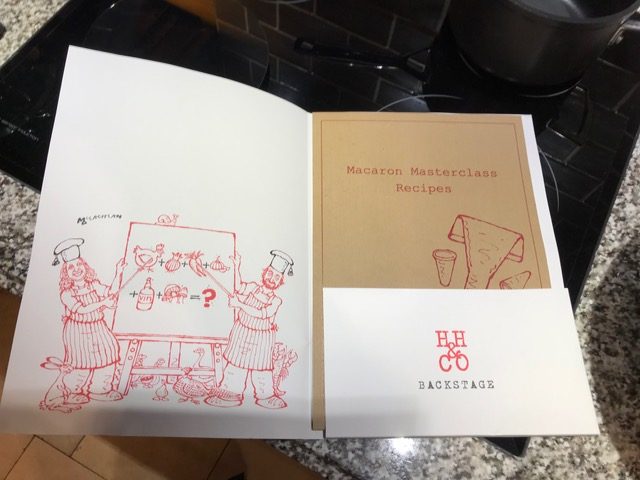
After introductions, silky coffees and homemade biscuits, we were taken down into the H H & Co Cookery School classroom. Pinnies were distributed, along with sticky (or in my case non-stick) name labels; work stations were baggsied, and the proper chef called us to order for the first segment of demonstration.
This is how it worked, the chef demonstrated a part of the recipe on his own, and then in pairs we went off to repeat what we’d seen, only in twice the time and with twice the manpower!
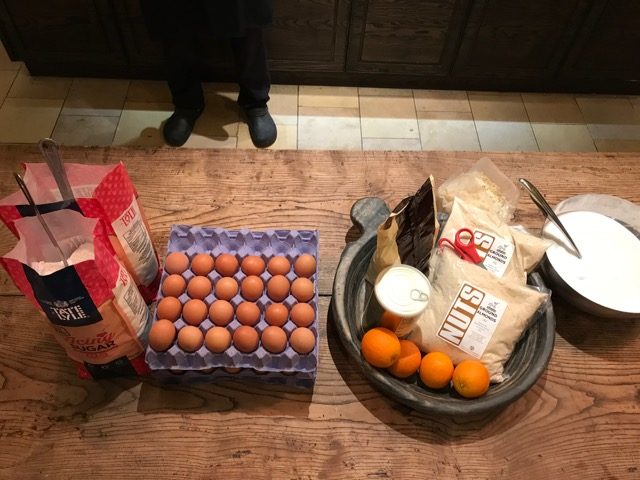
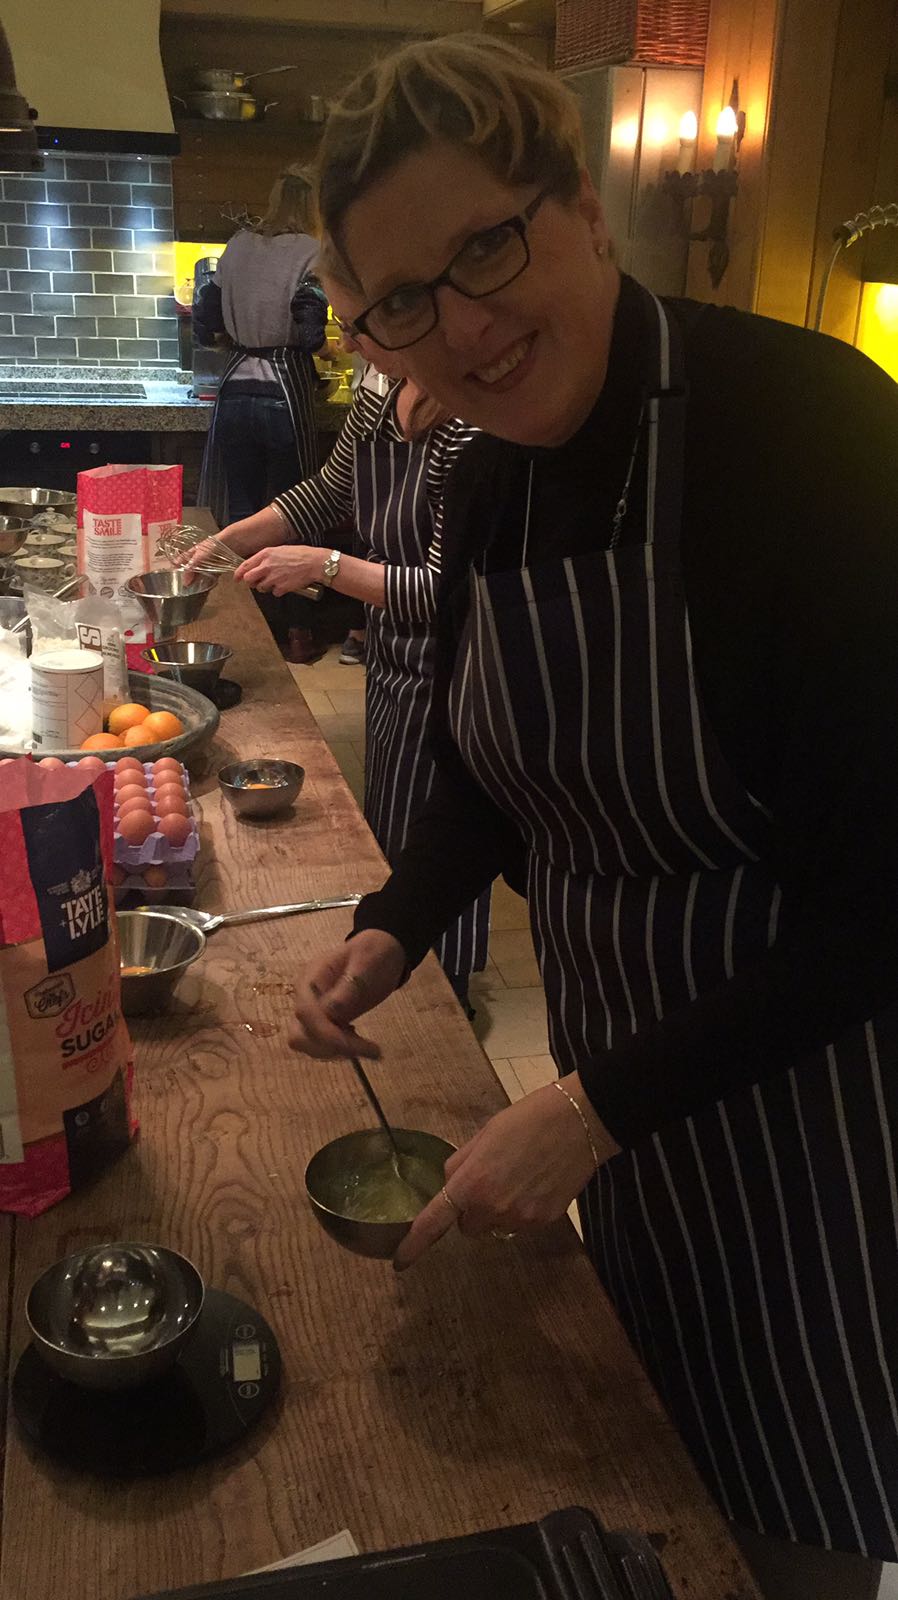
The first stage was preparing the ingredients. This is a very important stage for successful Macarons, as there is little, (and I mean 1 or 2 grams) tolerance in the recipe, thus, for the first time in my life, I found myself weighing egg whites.
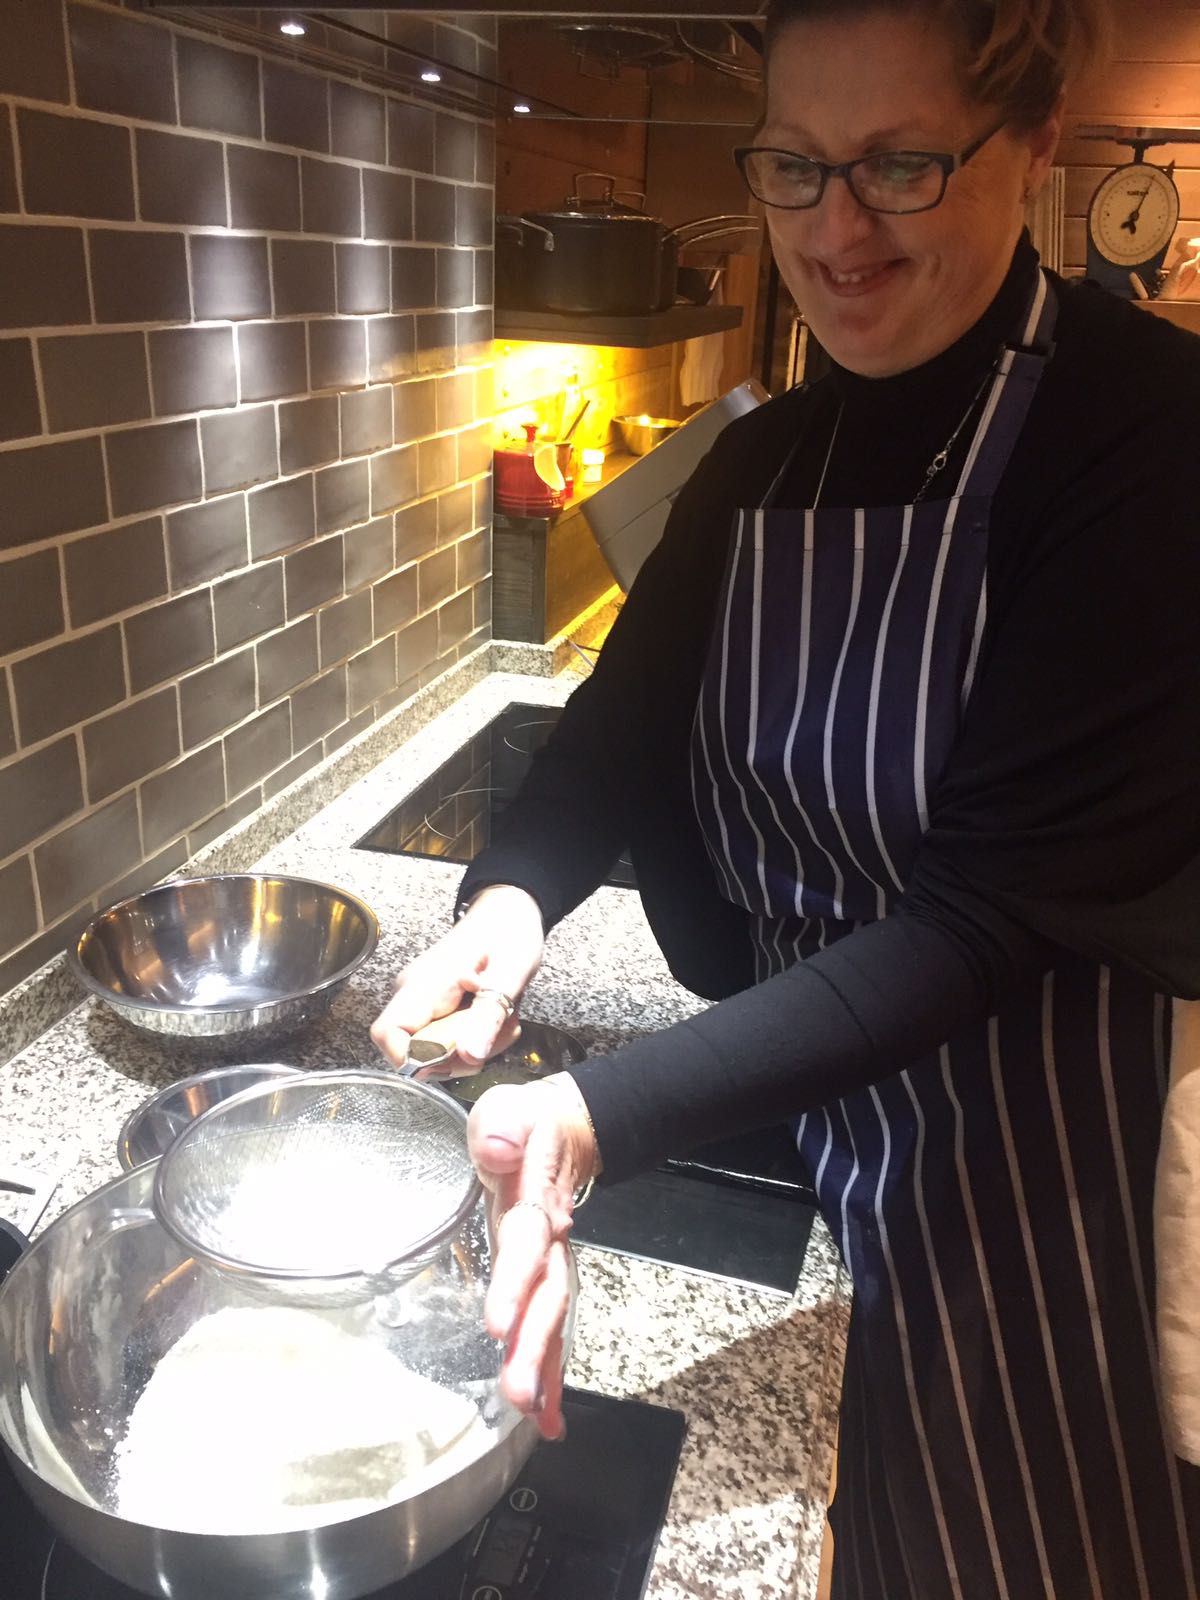
Weighing was followed by taking two of the key dry ingredients, namely ground almonds and half the icing sugar, and popping them in the blender to ensure absolutely no lumps, before a final sieving, leaving us with a thoroughly blended, extra fine, lump free, bowl of dry mix.
We added half the, (carefully measured), egg white to the dry mix, along with three generous teaspoons of Pistachio paste – I’ve never seen this before, but it was fab. It looked almost black it was so dense in colour, and tasted a bit like a marzipan, but with pistachios. We ended up with what the chef called a thick batter, but looked more like an unctuous, neon green paste.
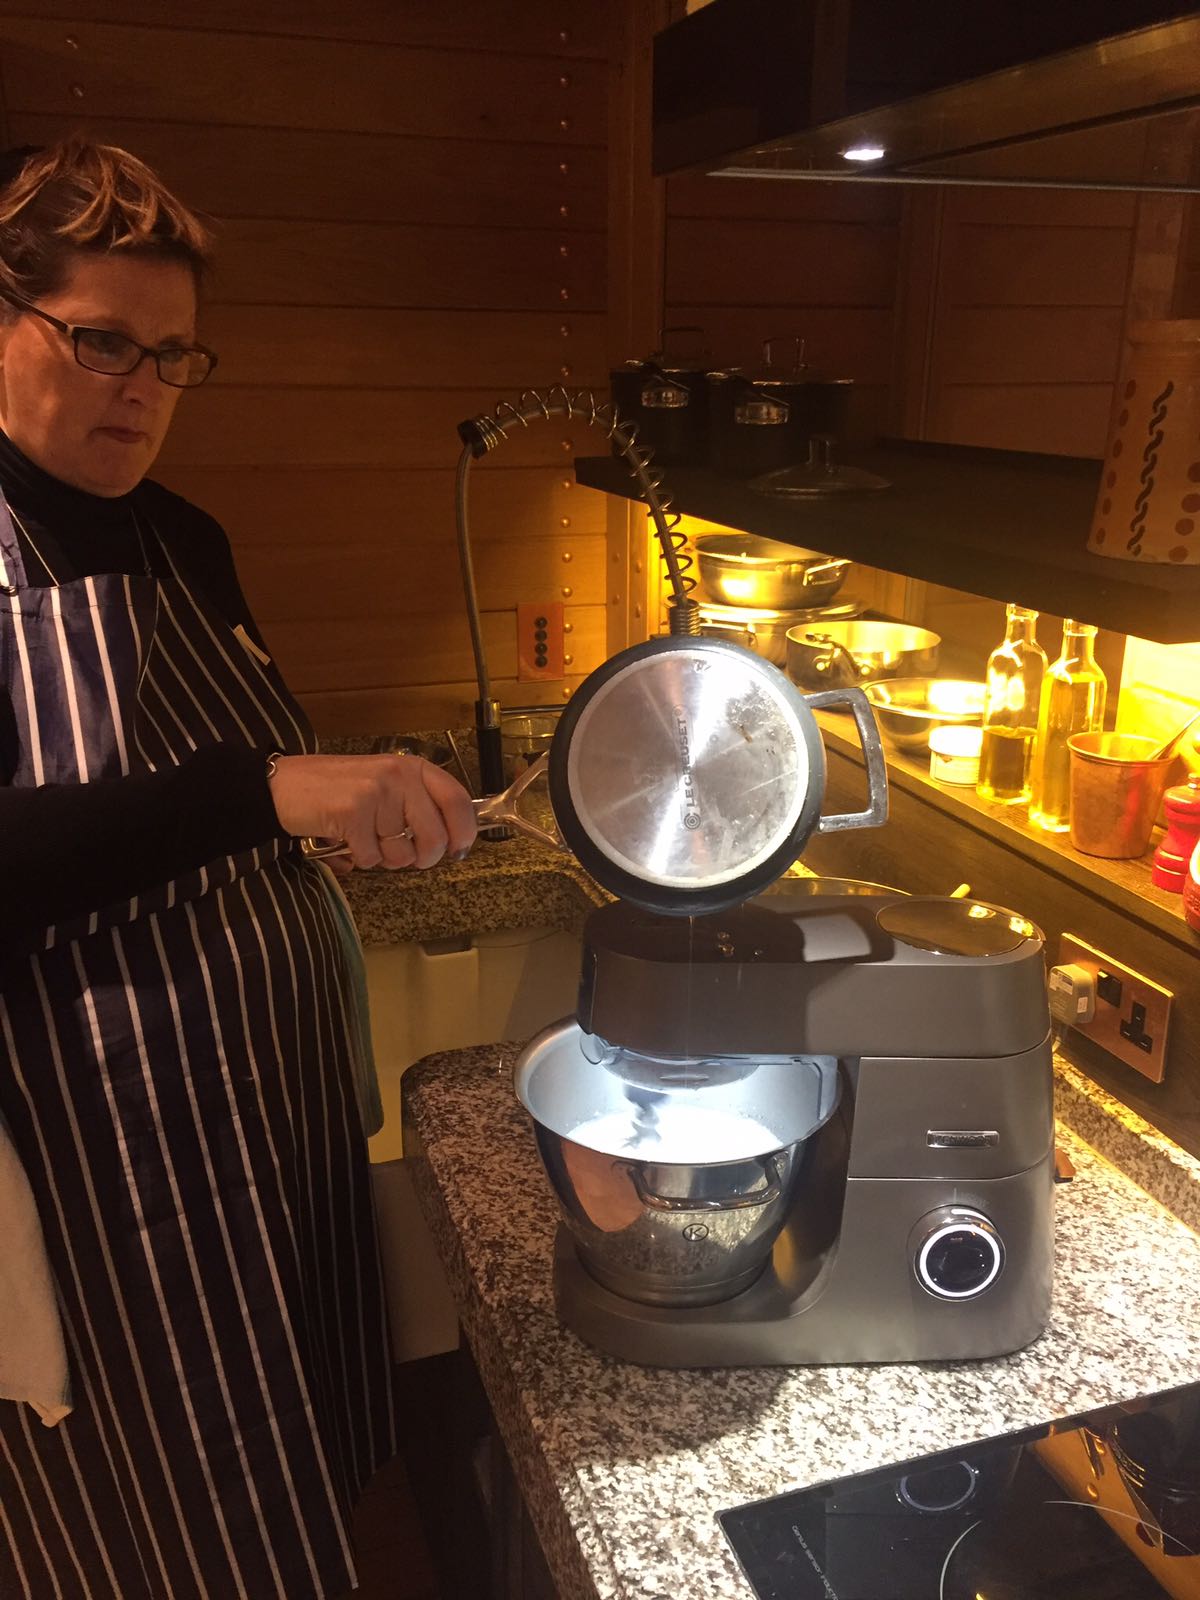
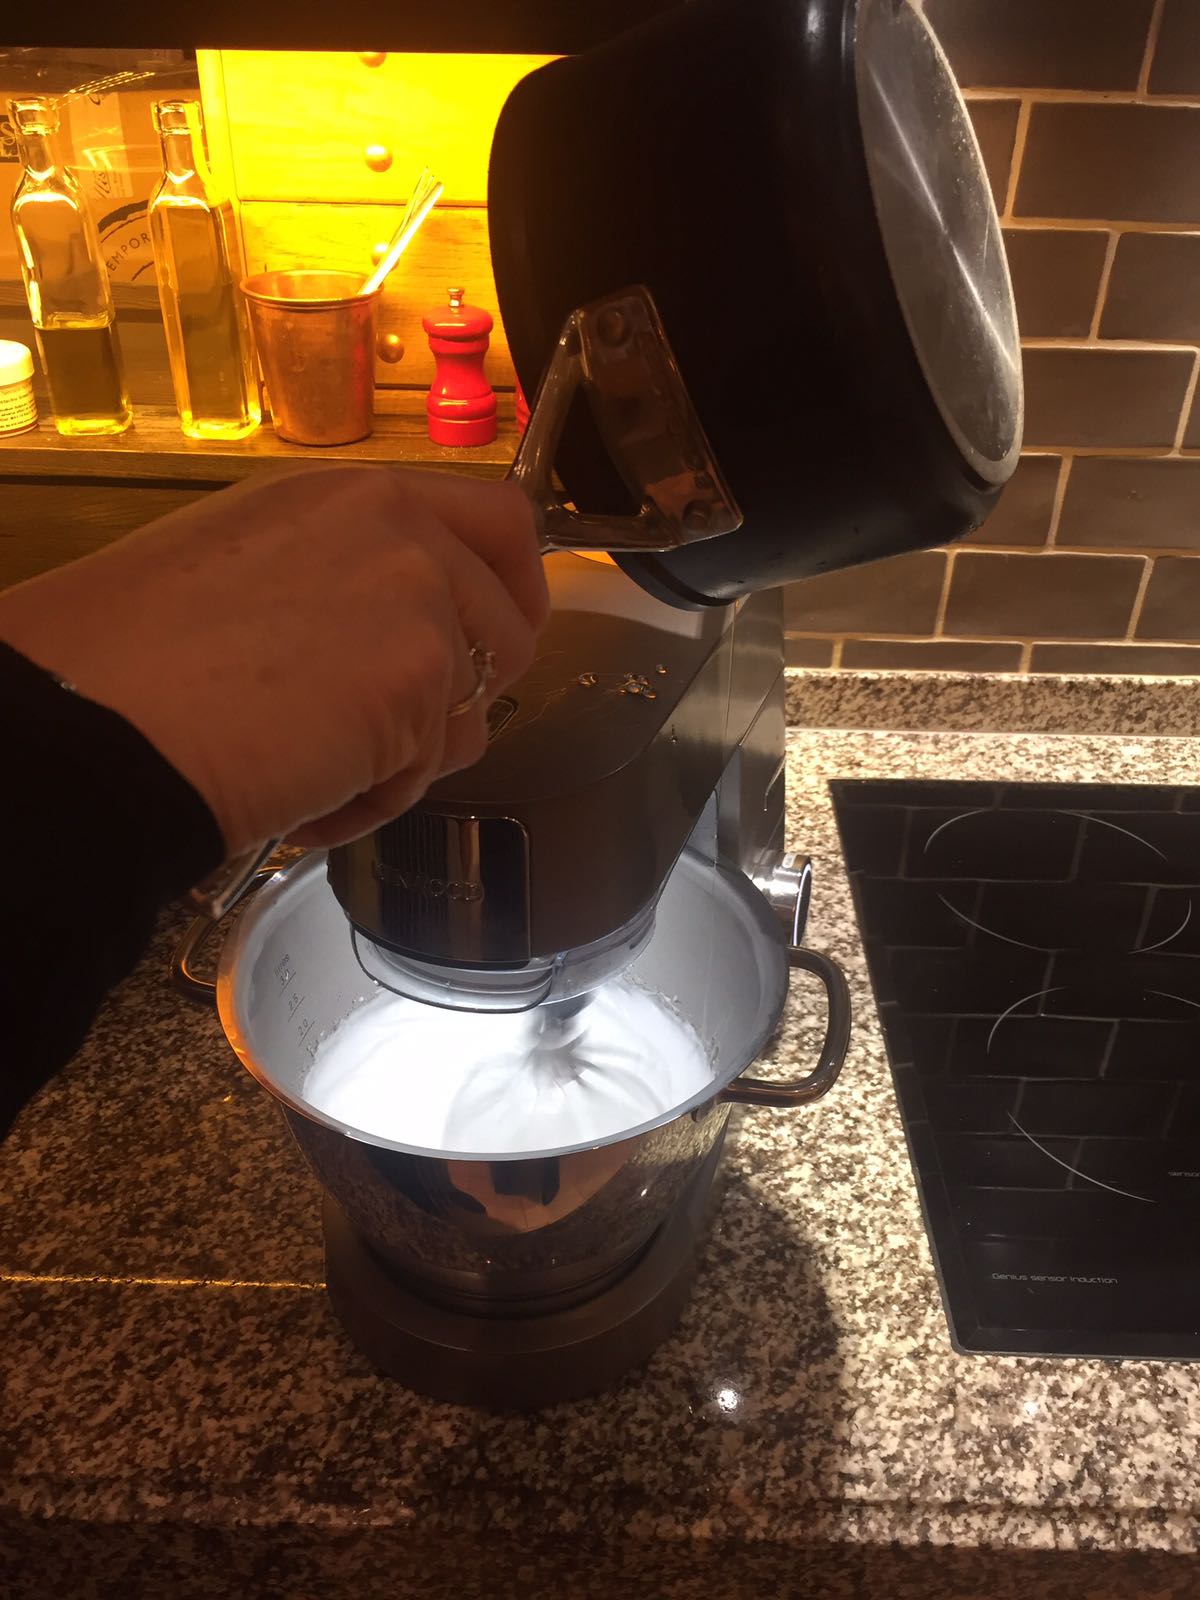
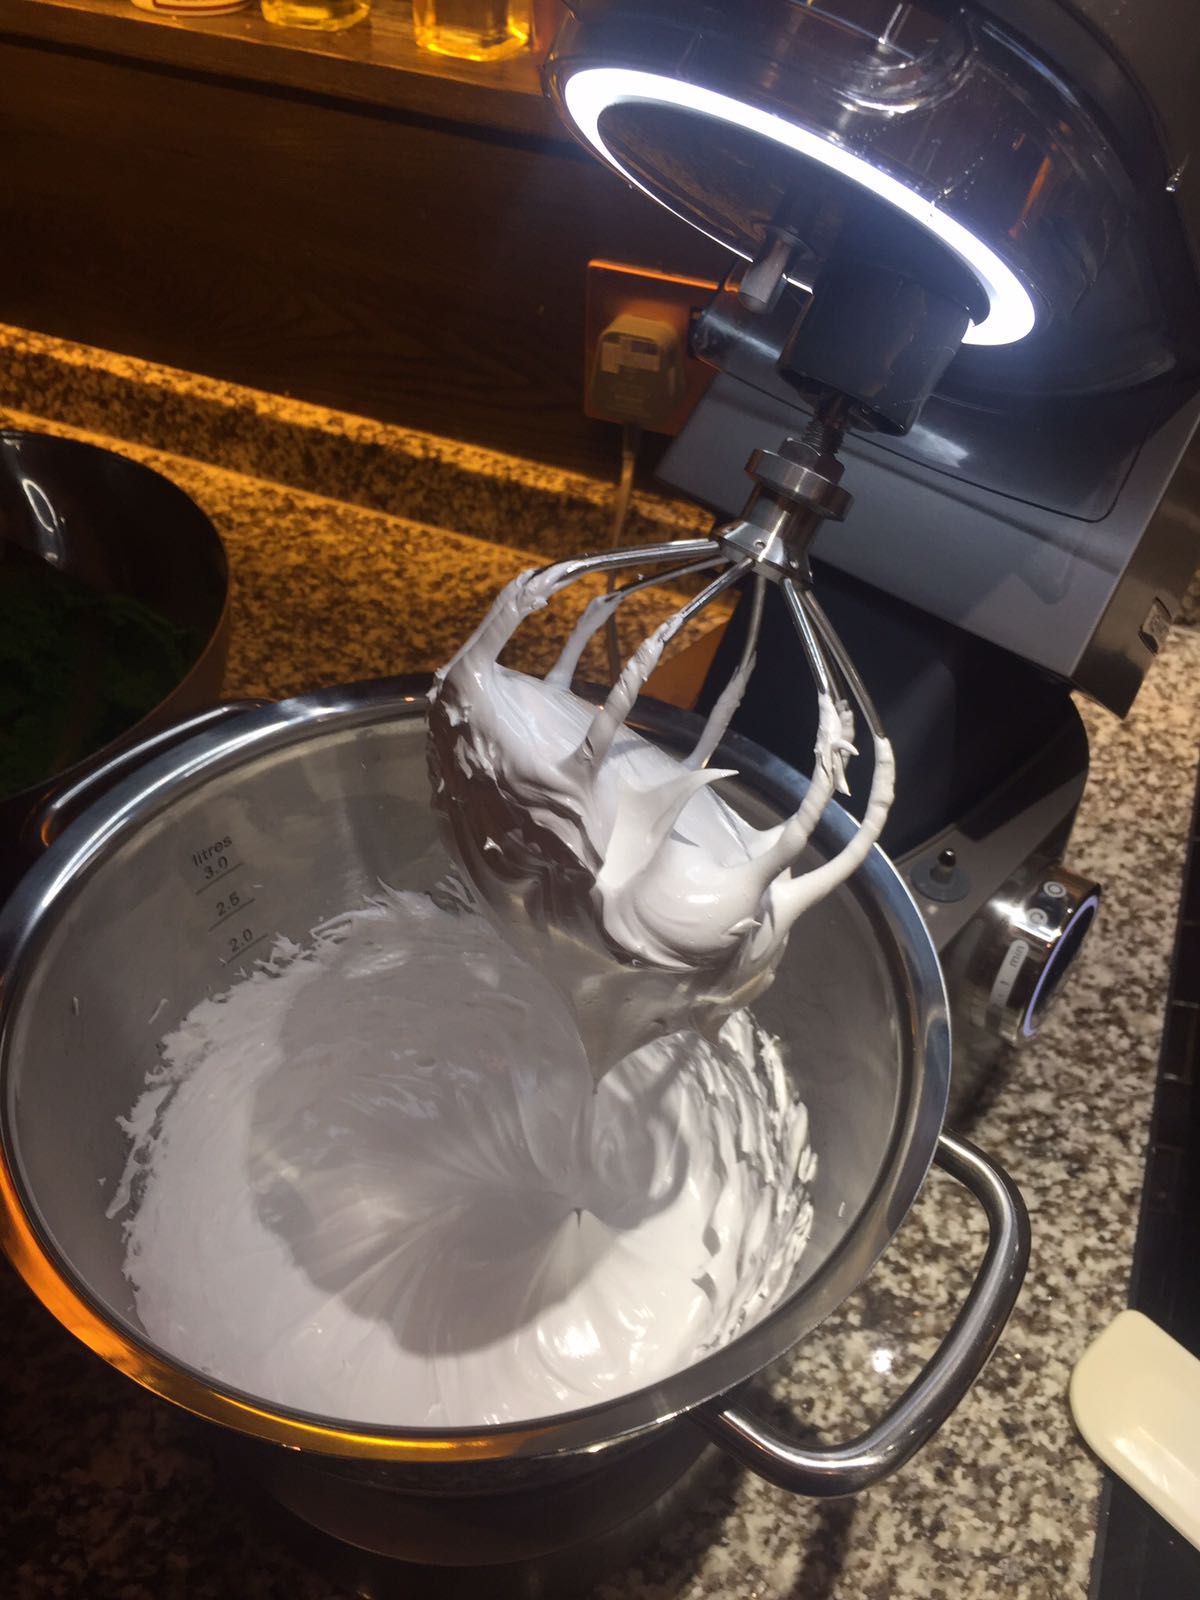
Next we had another mini demonstration for making the meringue. Apparently the type of meringue required in Macarons is an Italian Meringue, which involves heating sugar and water to a very precise 118 degrees, whilst simultaneously whisking the other half of the egg whites to a precise soft peak consistency, and then slowly, (and very carefully), combining the two, finally whisking until the heat has gone out of the mixture.
In the hands of the chef this looked like a well practised art form, whilst for us there seemed to be plenty of room for scrambled egg white, burnt sugar and possible third degree burns!
Fortunately, our very attentive and well behaved class all produced glossy, thick, marshmallow-esque meringue that any pastry chef would be happy to put their name to!
Another demo ensued in which the almondy paste and the meringue mix would be combined.
This is best done in thirds we discovered. So take a third of the meringue and beat it, as heavy-handedly as you like, into the almond batter. This slackens the mixture off a little. Then take another third and with more of a light handed approach, blend the two by scooping up the mix and letting the weight of the mixture cause it to drop off the spoon, thus blending it. The mix should be much easier to work with now, and with the final third of meringue very gently fold the mixture in.
Note: when taking the last of the meringue from the bowl don’t be tempted to scrape the bowl around the edges as it is likely sugar crystals have formed there from when the heated sugar was drizzled into the bowl earlier, and these would give sugary lumps in the end product.
The resulting mix should be of an evenly blended colour and streak free, and ready for piping onto baking pachment.

Another demo section followed, which left us trying our best to get the gloopy, green mix safely deposited into a piping bag with nozzle attached. Much laughter ensued because as fast as we shovelled it in at the top, it simply drooled out everywhere from the nozzle at the bottom. Clearly the disruptive pair in the classroom, chef came to the rescue and put a twist in the piping bag effectively stopping the flow! (This also explains the lack of photographic evidence for this stage – we were too busy wiping up mixture!)
Hilarity controlled, we managed to pipe 40 perfectly formed, tuppence sized discs each and get them in the oven for 16 mins. Well actually we missed the cue for getting them in the oven and so were a minute or two behind everyone else!
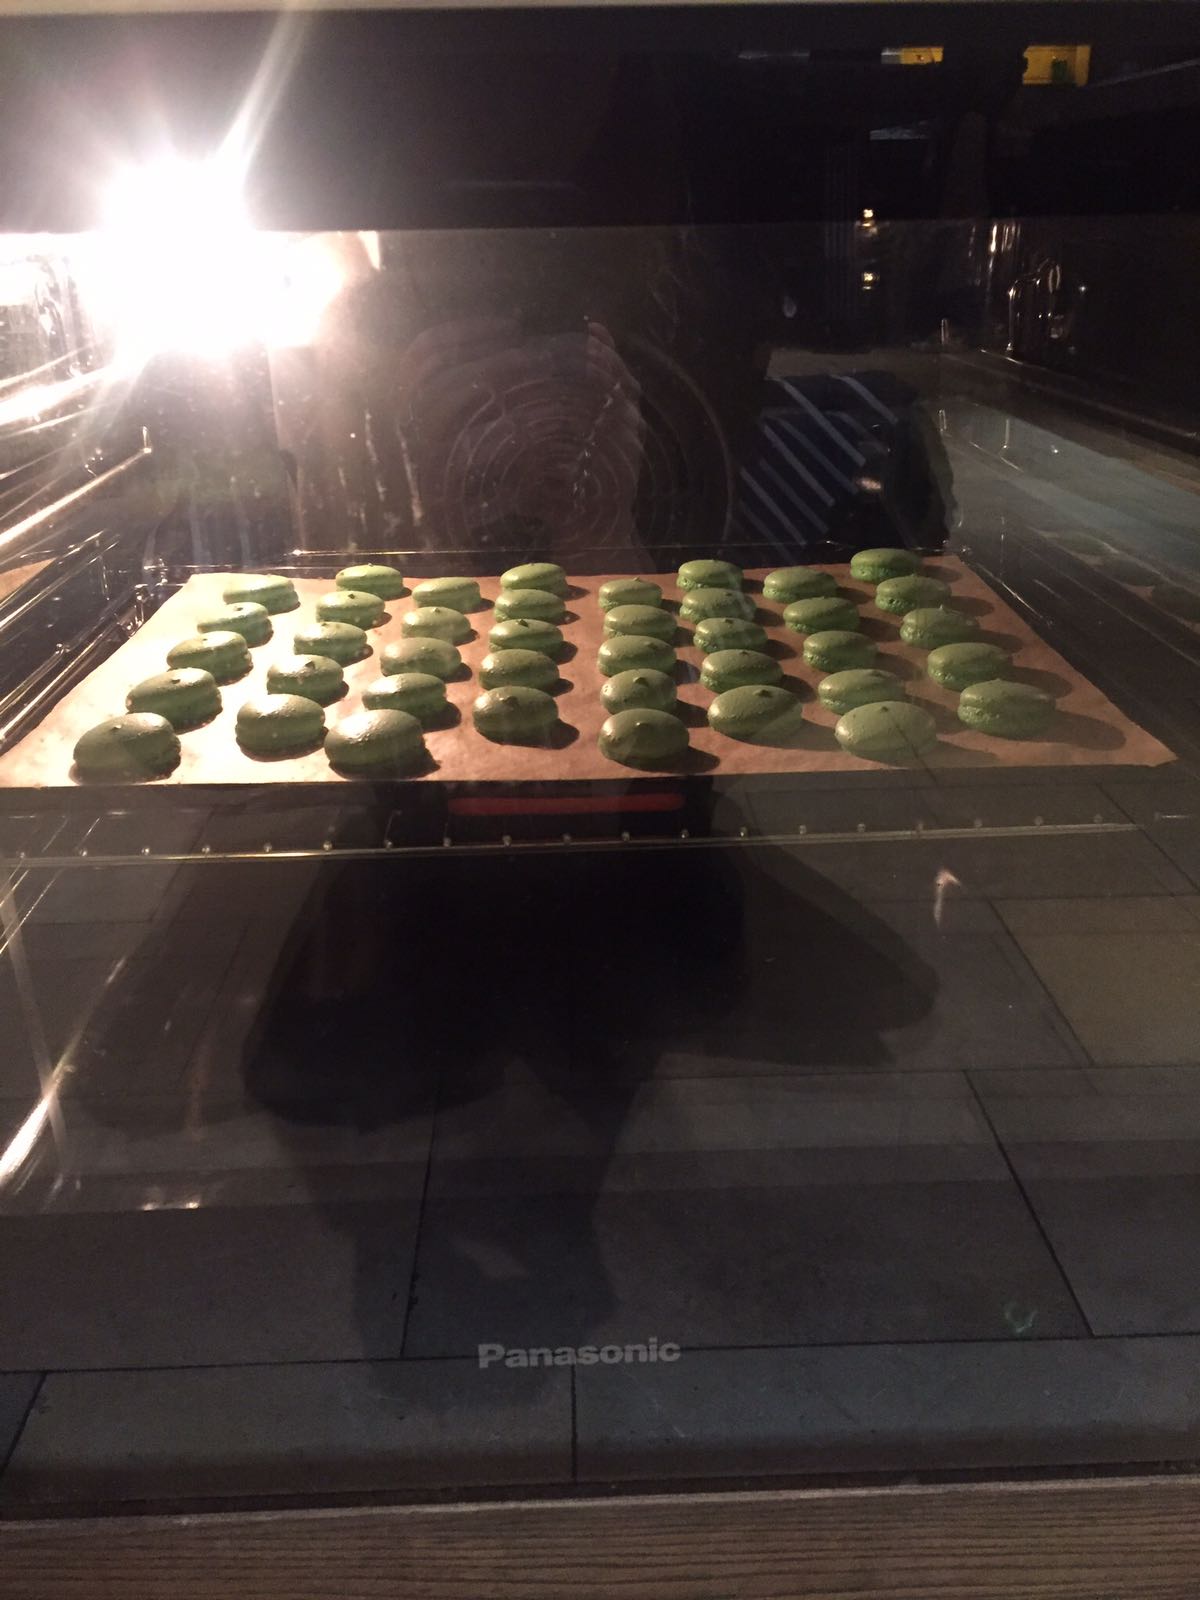
All that remained to be demo’ed and made was buttercream. Soft, room temperature butter was blended with equal parts of sifted icing sugar and a quarter teaspoon of blacky-green looking food colouring powder, and squelched into another piping bag.
The Macarons, and by now they actually looked like Macarons, came out of the oven – a handy tip for ‘shocking’ the macarons into un-sticking from the baking paper, is to slide the baking paper onto a slightly wet surface – and once cool to the touch, were filled with buttercream.
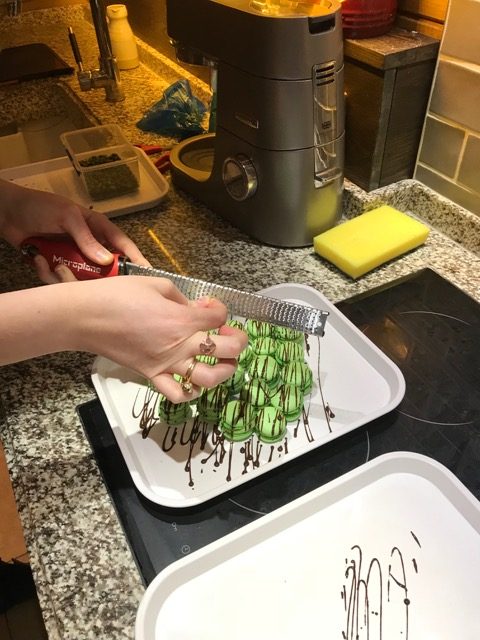
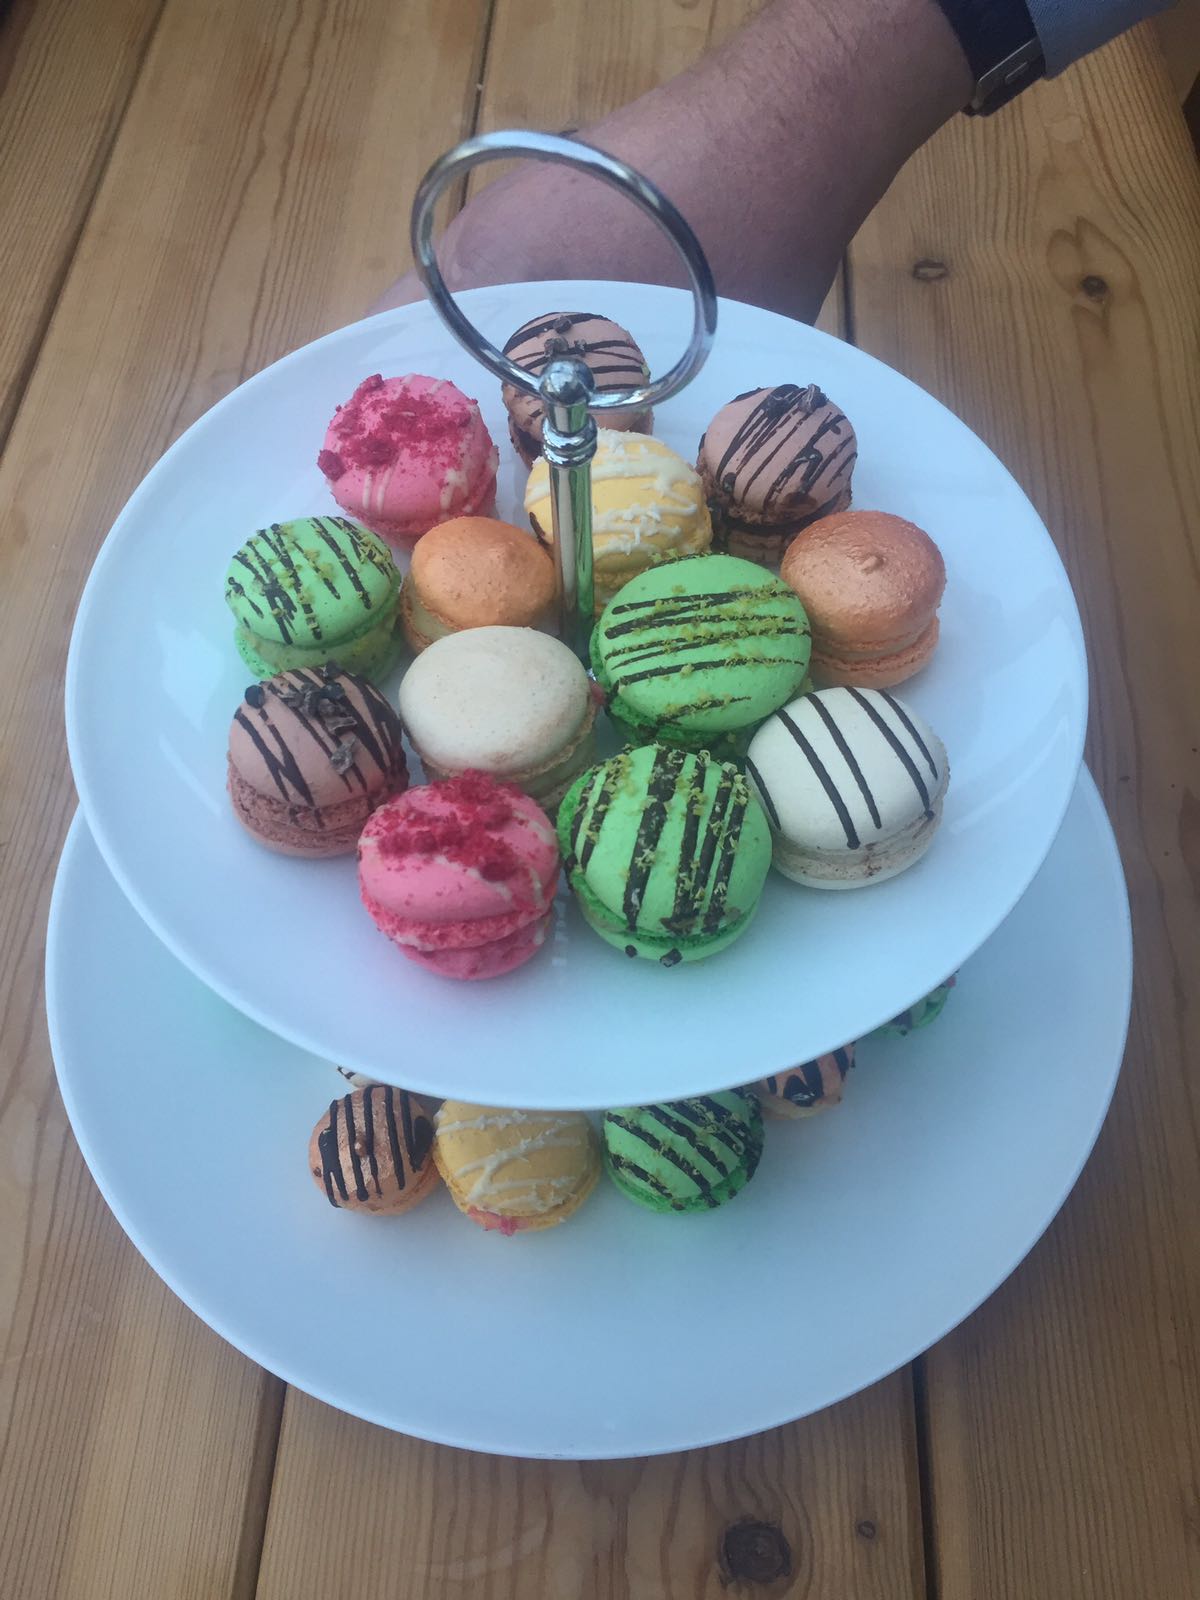
A further piping bag emerged, this time full of melted dark chocolate for drizzling over, and a scary, finger scraping micro-plane, (I’m sure they used to be called graters), was used for grating pistachio across the top.
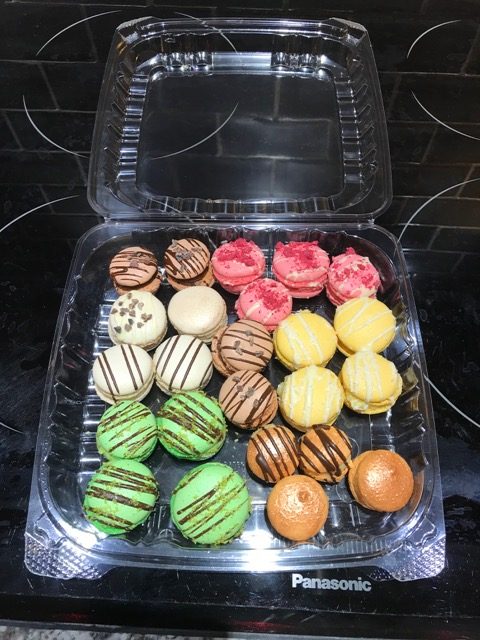
Every pair had made a different flavour, so will all ended up with a mixed selection to take home, and the chef declared that we were the most successful class to date, (I bet he says that to every class), but every one of us swelled with pride!
I would thoroughly recommend this fun class, and am already thinking of going back to ‘do’ pasta!
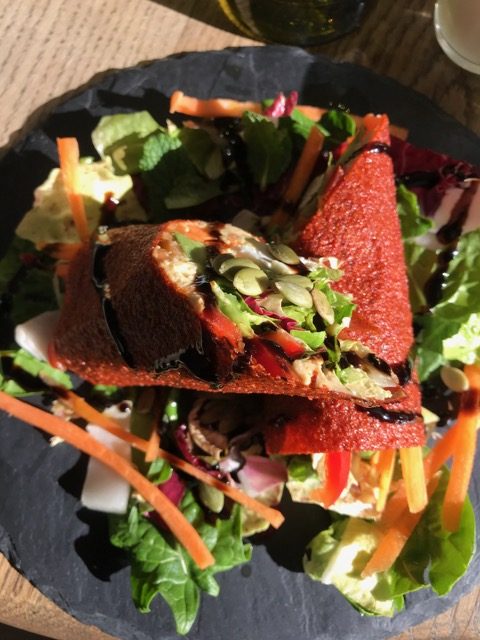
We rounded our day off wonderfully by meeting a friend for a healthy lunch in the hotel’s Herb House Spa restaurant Raw and Cured – all in all it was a perfect day of making memories as well as macarons!
As an end note, after tasting all the different flavours at home, we found our slightly under-baking time macarons, to be still crisp, but with a chewy centre. So if you like yours like this, only bake for 14 not 16 minutes!
CLICK HERE to follow this story and other similar stories on my Instagram page.
For other food stories and recipes CLICK HERE
 Amanda
Amanda